There is nothing quite like the nostalgic pull of a summer campfire, but these Smores Cookie Bars bring that magic directly into your kitchen without the need for an open flame. Imagine a thick, handheld treat that combines the structural integrity of a buttery graham cracker crust with the decadence of a liquid chocolate center.
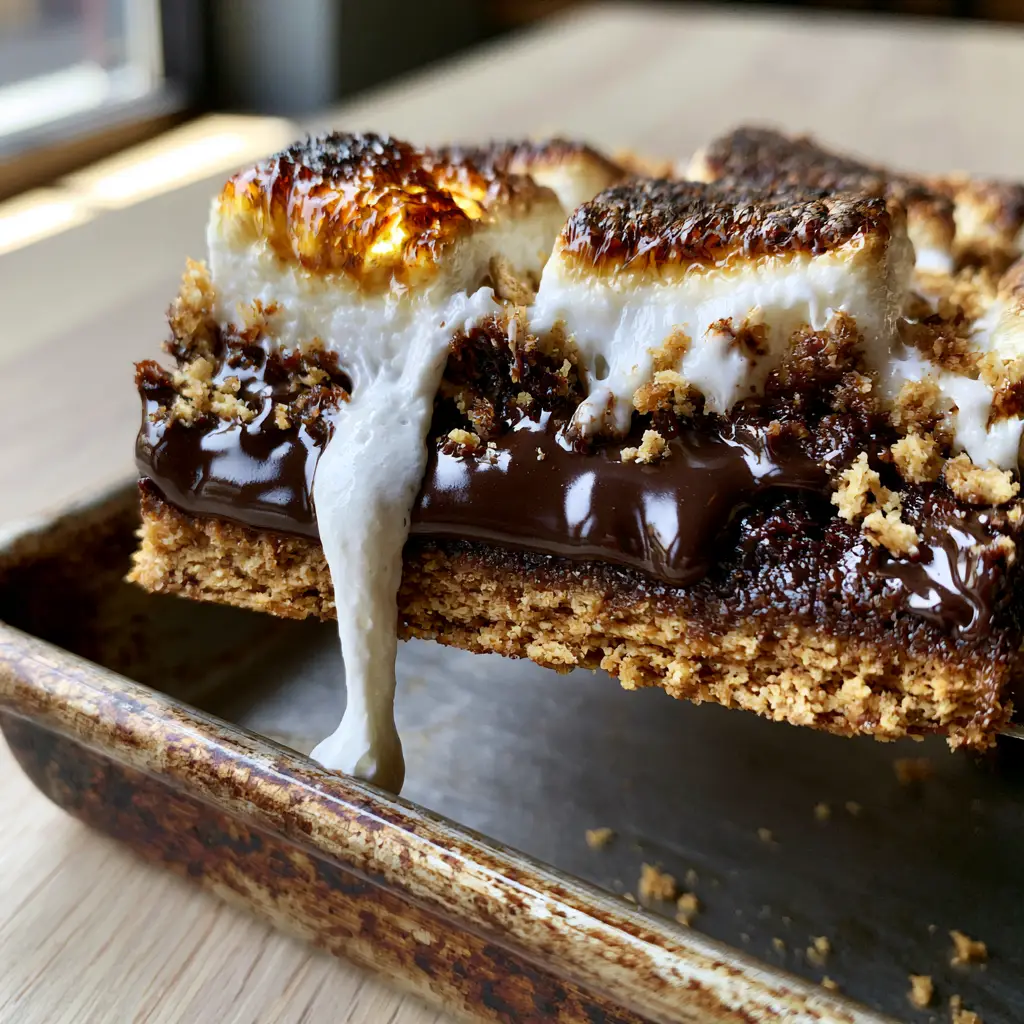
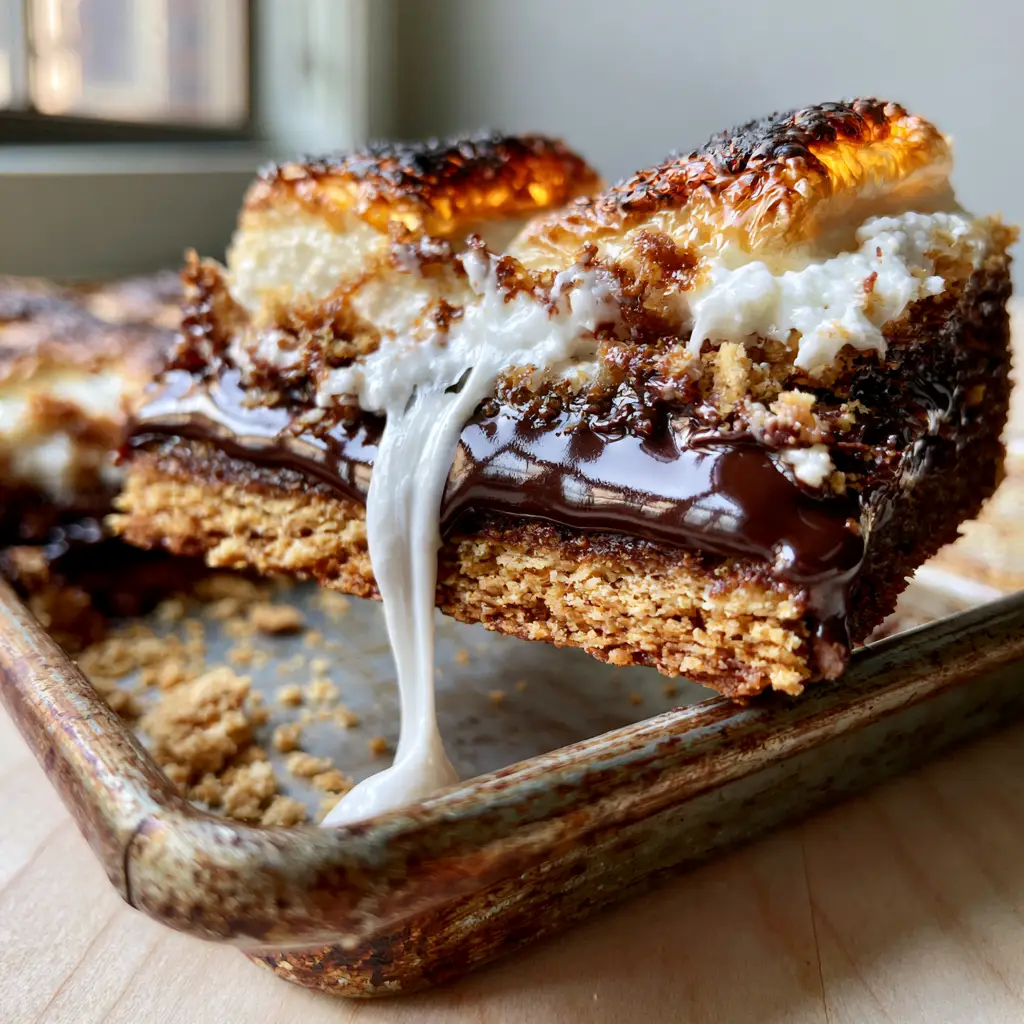
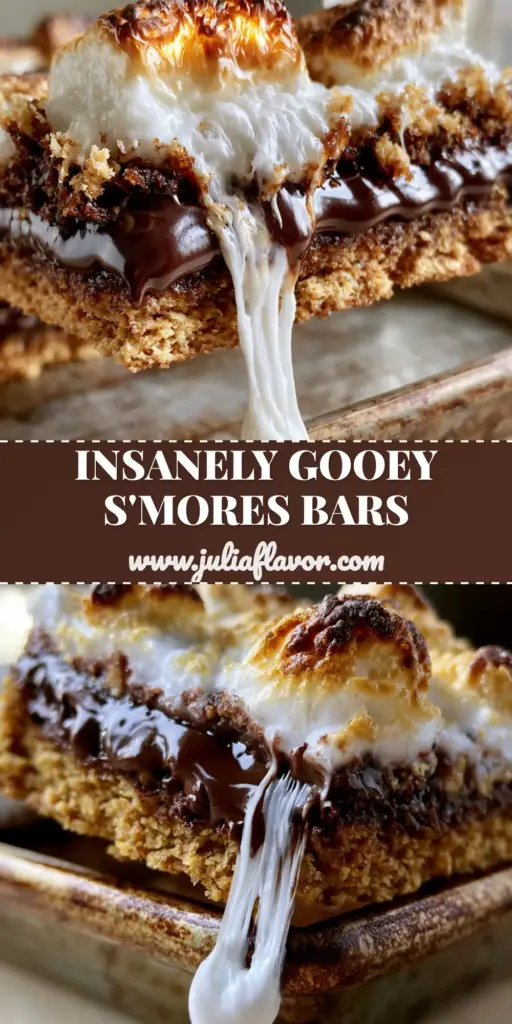
The visual appeal of these Smores Cookie Bars is undeniable, featuring three distinct, high-contrast layers that look professional yet rustic. We are talking about golden-brown cookie dough crumbs scattered over glossy melted Hershey bars, topped with jumbo marshmallows that have been toasted to achieve deep amber, charred peaks.
When you lift a square from the rustic metal baking pan, you are greeted by a long, gooey strand of melted white marshmallow stretching toward the base. This recipe captures that authentic, high-quality mobile photography aesthetic—messy, indulgent, and perfectly textured.
Why These Are the Ultimate Multi-Textured Dessert Squares
- The Triple Threat Texture: You get the audible crunch of the graham cracker crust, the silkiness of melted dark chocolate, and the pillowy stickiness of toasted marshmallows in every bite.
- Visual Forensics: Unlike standard bars, we use jumbo marshmallows and high-heat finishing to create those signature charred peaks seen in professional bakery windows.
- Make-Ahead Magic: While they are spectacular warm, these bars set up into a sliceable, portable dessert that holds its shape for parties and potlucks.
- The “Secret” Graham Dust: We finish the bars with a fine scattering of graham cracker dust to reinforce the flavor profile and add a matte finish to the glossy chocolate.
The Essential Components for Gooey Smores Cookie Bars
To achieve the exact visual and structural results of our blueprint, you need specific ingredients that react to heat in distinct ways. Using the right chocolate and marshmallow size is the difference between a flat bar and a masterpiece.
Graham Cracker Crumbs: 2 cups (200g) of finely pulsed crackers form the foundation of our buttery crust. These provide the essential sandy texture that offsets the soft toppings.
Melted Unsalted Butter: 1/2 cup (115g) acts as the mortar for your crust. We use unsalted butter to control the seasoning, ensuring the base isn’t overly cloying.
Granulated Sugar: 1/4 cup (50g) helps the crust caramelize slightly in the oven. This creates a barrier so the chocolate layer doesn’t make the bottom soggy.
Hershey’s Milk Chocolate Bars: 6 standard bars (approx. 260g) are laid side-by-side. Using full bars instead of chips creates that iconic “glossy melted chocolate” sheet seen in the cross-section.
Jumbo Marshmallows: 1 bag (approx. 300g) provides the height and the “stretch.” Smaller marshmallows melt too quickly; jumbo ones maintain their shape while the tops char.
All-Purpose Flour: 1 1/2 cups (190g) for the cookie dough topping. This provides the structure for the “golden crumbs” that peek through the marshmallow layer.
Brown Sugar: 1/2 cup (100g) packed. This adds moisture and a hint of molasses flavor to the cookie dough portion, ensuring it stays soft even after the second bake.
Invisible Essentials: Don’t forget 1/2 tsp (3g) of sea salt and 1 tsp (5ml) of pure vanilla extract. These balance the sugar and enhance the aromatic profile of the toasted marshmallow.
Necessary Tools for Bakery-Style Results
You will need a 9×9 inch (23x23cm) metal baking pan. Metal conducts heat more efficiently than glass, which is crucial for getting that “golden-brown buttery graham cracker crust” without overcooking the center.
A kitchen torch is optional but recommended for those extra-charred peaks. If you don’t have one, a standard oven broiler works perfectly, provided you watch it like a hawk to prevent burning.
Parchment paper is a non-negotiable here. Because of the “sticky marshmallow fluff” and “smooth liquid chocolate,” you need an easy way to lift the entire block out of the pan for clean slicing.
Step-By-Step Guide to the Perfect Charred Marshmallow Layer
1. Crafting the Compressed Graham Base
Preheat your oven to 350°F (175°C). In a medium bowl, combine your graham cracker crumbs, melted butter, and granulated sugar until the mixture looks like wet sand.
Press the mixture firmly into the bottom of your parchment-lined pan. Use the bottom of a heavy measuring cup to pack it down tightly—this ensures the bar stays “handheld” and doesn’t crumble upon lifting.
Bake the crust for 8-10 minutes until it is fragrant and just slightly darkened. This “blind bake” prevents the crust from becoming mushy once the chocolate is added.
2. Layering the Chocolate and Cookie Crumbs
While the crust is hot, lay your Hershey bars across the surface, breaking them as needed to fit edge-to-edge. The residual heat will start the melting process, creating that “glossy” appearance.
In a separate bowl, cream together 1/2 cup (115g) softened butter with brown sugar, then fold in flour and salt to create a thick, crumbly dough. Scatter these “golden cookie dough crumbs” over the chocolate layer, leaving some chocolate visible.
Return the pan to the oven for 15-18 minutes. You are looking for the cookie crumbs to be set and pale gold, but not fully browned yet, as they will head back in for the marshmallow finish.
3. Achieving the Charred Peaks and Gooey Stretch
Remove the pan and immediately top with the jumbo marshmallows. Place them upright and packed closely together to ensure every square inch is covered in white fluff.
Switch your oven to the broiler setting. Place the pan on the middle rack and watch closely for 1-2 minutes. The marshmallows will puff up and develop “charred amber peaks” before your eyes.
For the final touch, sprinkle the reserved “scattered graham cracker dust” over the toasted marshmallows while they are still tacky. This adds the final layer of visual forensic detail described in our blueprint.
Expert Tips for Success
- The Clean Cut: To get those perfect layers without the marshmallow sticking to your knife, coat your blade with a flavorless oil or dip it in hot water between every single slice.
- Temperature Control: Allow the bars to sit for at least 30 minutes before slicing. This allows the “liquid chocolate” to firm up just enough to stay in the bar rather than running out the sides.
- Marshmallow Sourcing: Use fresh marshmallows. Stale marshmallows will not puff as much and are more likely to catch fire under the broiler rather than carmelizing into amber peaks.
- The Salt Factor: A tiny pinch of flaky sea salt on top of the toasted marshmallows can cut through the sweetness of the Hershey chocolate perfectly.
Storage, Reheating & Freezing
These Smores Cookie Bars are best enjoyed the day they are made to maintain the contrast between the “crunchy crust crumbs” and “sticky marshmallow.” However, they can be stored in an airtight container at room temperature for up to 3 days.
If you want to regain that “gooey strand” effect the next day, pop a single bar in the microwave for 10-15 seconds. The chocolate will reliquefy and the marshmallow will soften instantly.
We do not recommend freezing these bars. The marshmallow texture changes significantly when thawed, losing its airy fluffiness and becoming unpleasantly chewy.
What to Serve With Indulgent Smores Bars
Since these bars are incredibly rich, they pair beautifully with a cold glass of milk or a strong cup of black coffee. If you are serving these at a summer gathering, they are the perfect follow-up to a light Caprese Pasta Salad or a refreshing Cucumber Chickpea Feta Salad.
For a full summer spread, consider serving these alongside other crowd favorites like Creamy Boat Dip or a zesty Cowboy Caviar Pasta Salad. These savory options balance the intense sugar profile of the chocolate and toasted marshmallow.
If you’re planning a holiday dessert table, these stand up well next to Christmas Chocolate Chip Cookies or even a bright Seasonal Summer Pie.
Frequently Asked Questions
You can substitute with vegan butter, graham crackers without honey, dairy-free chocolate, and vegan marshmallows, though vegan marshmallows may not char as quickly.
Yes, but for the authentic glossy liquid chocolate layer seen in the photos, Hershey bars are superior because they melt into a seamless sheet.
The secret is using a very sharp knife dipped in hot water or sprayed with non-stick oil. Wipe the knife clean between every single cut.
Use the broiler setting for only 1-2 minutes and place the pan on the middle rack. This provides intense top heat to char the peaks while the crust remains protected.
You likely didn’t press the mixture firmly enough into the pan. Use the flat bottom of a glass or measuring cup to pack it tightly before baking.
The Ultimate Smores Cookie Bars Recipe Card
Smores Cookie Bars with Charred Marshmallow Peaks and Hershey Chocolate
Ingredients
Equipment
Method
- Combine graham crumbs, butter, and sugar. Press into a 9x9 pan and bake at 350°F (175°C) for 10 minutes until golden.
- Place Hershey bars side-by-side over the hot crust. Prepare cookie dough crumbs and scatter over the chocolate.
- Add jumbo marshmallows and broil for 1-2 minutes until charred amber peaks form. Garnish with graham dust.
Notes
Don't skip the parchment paper for easy lifting.
Closing & Call to Action
The beauty of these Smores Cookie Bars lies in their ability to turn simple pantry staples into a gourmet, multi-textured experience. Whether you are craving the charred flavor of a campfire or the comfort of a warm cookie, this recipe delivers on every sensory front.
If you made these and captured that perfect “gooey strand” photo, I would love to hear about it! Leave a comment below and let me know how your charred peaks turned out. Don’t forget to save this recipe to your favorite dessert board on Pinterest so you can bake it all year round!